Your ATMEGA328p will arrive pre-programmed, but you may want to modify or re-upload the software at some point. You can do that by following the instructions on this page.
If you are looking for assembly instructions for version 1 of the µKenbak-1 (in the 3D printed case), you can find those instructions on this page.
Addendum
THIS IS IMPORT STUFF, READ BEFORE BUILDING! Here's where I'll add a few items that did not make it into the manual:
If one or more of your buttons bind against the front panel (so they don’t easily “click” when pressing) try this:
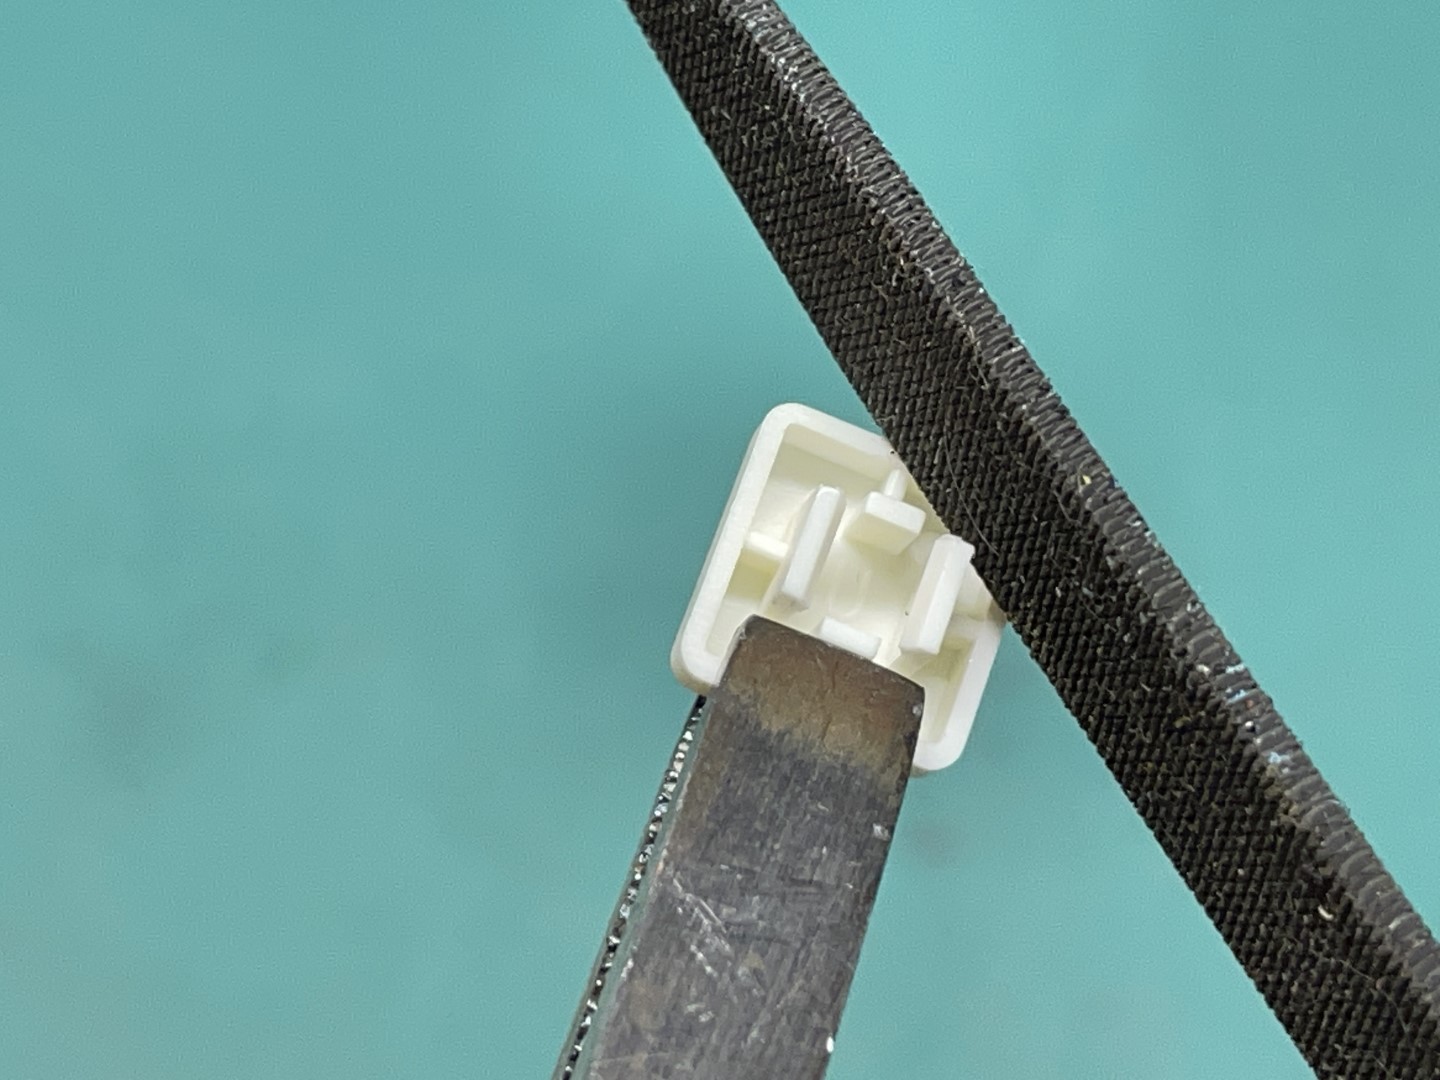
Using a file, file back the edges of the “ears” that grip the tactile button.
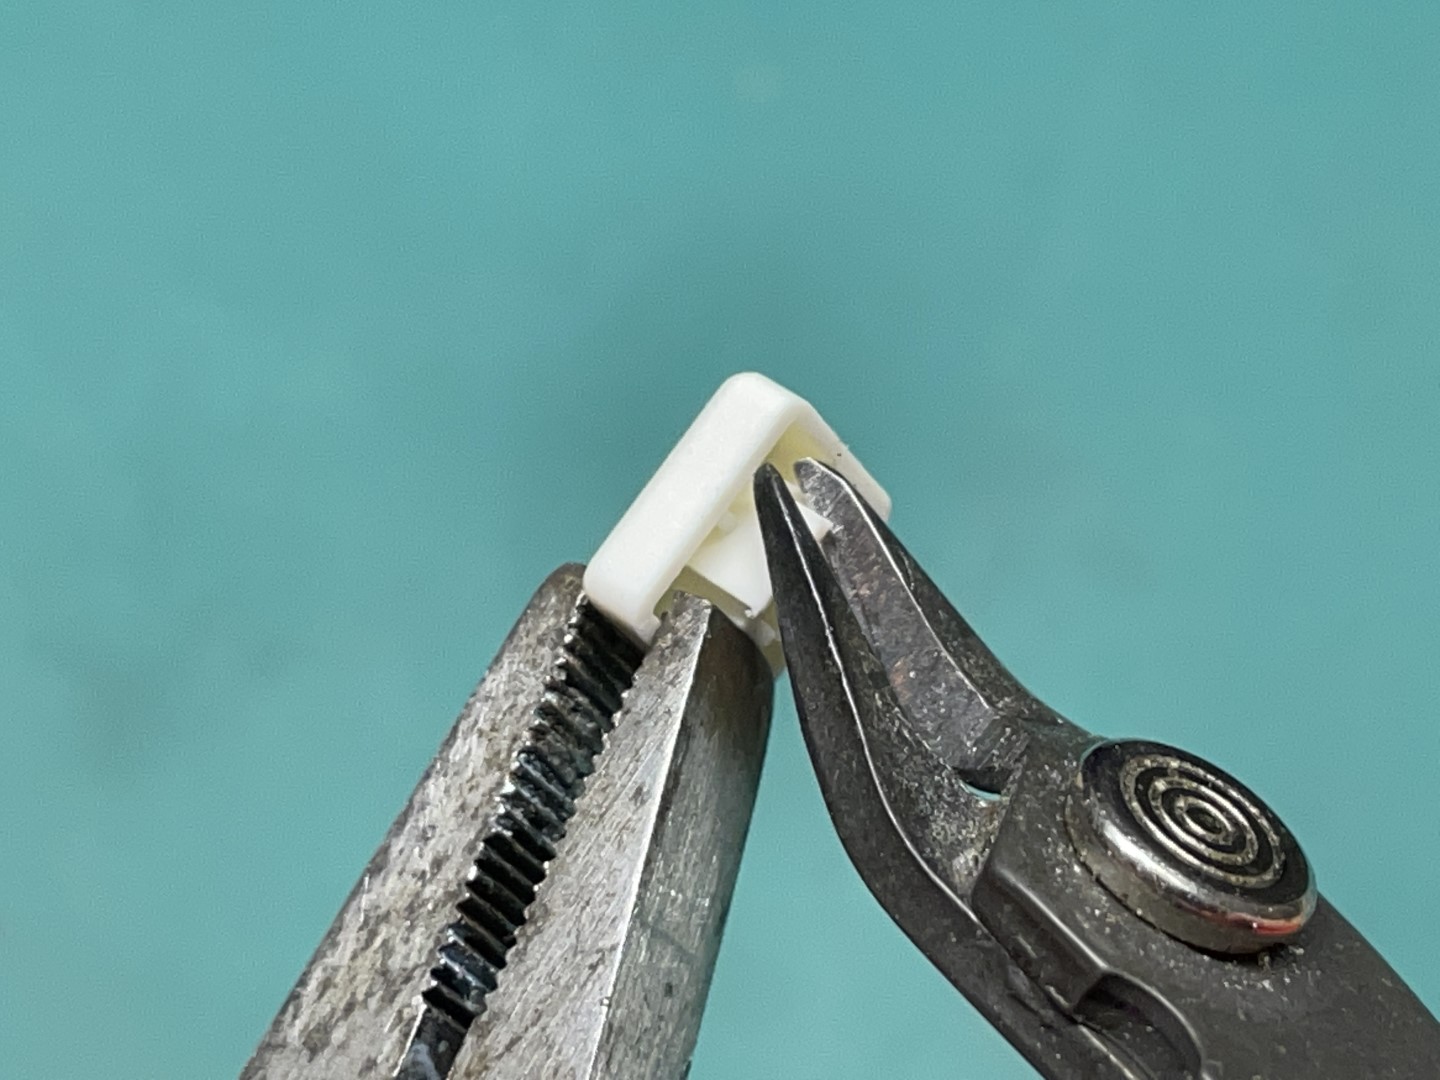
Or if you don’t have a file, use some clippers to snip a small piece from the edge of the ears.
RTC losing time on power down?
I have only heard of one instance where this has happened, but I was able to reproduce the problem and find a solution.
The problem presented when the power switch was turned off. Upon turning the kit on again, the time was reset to 12:00.
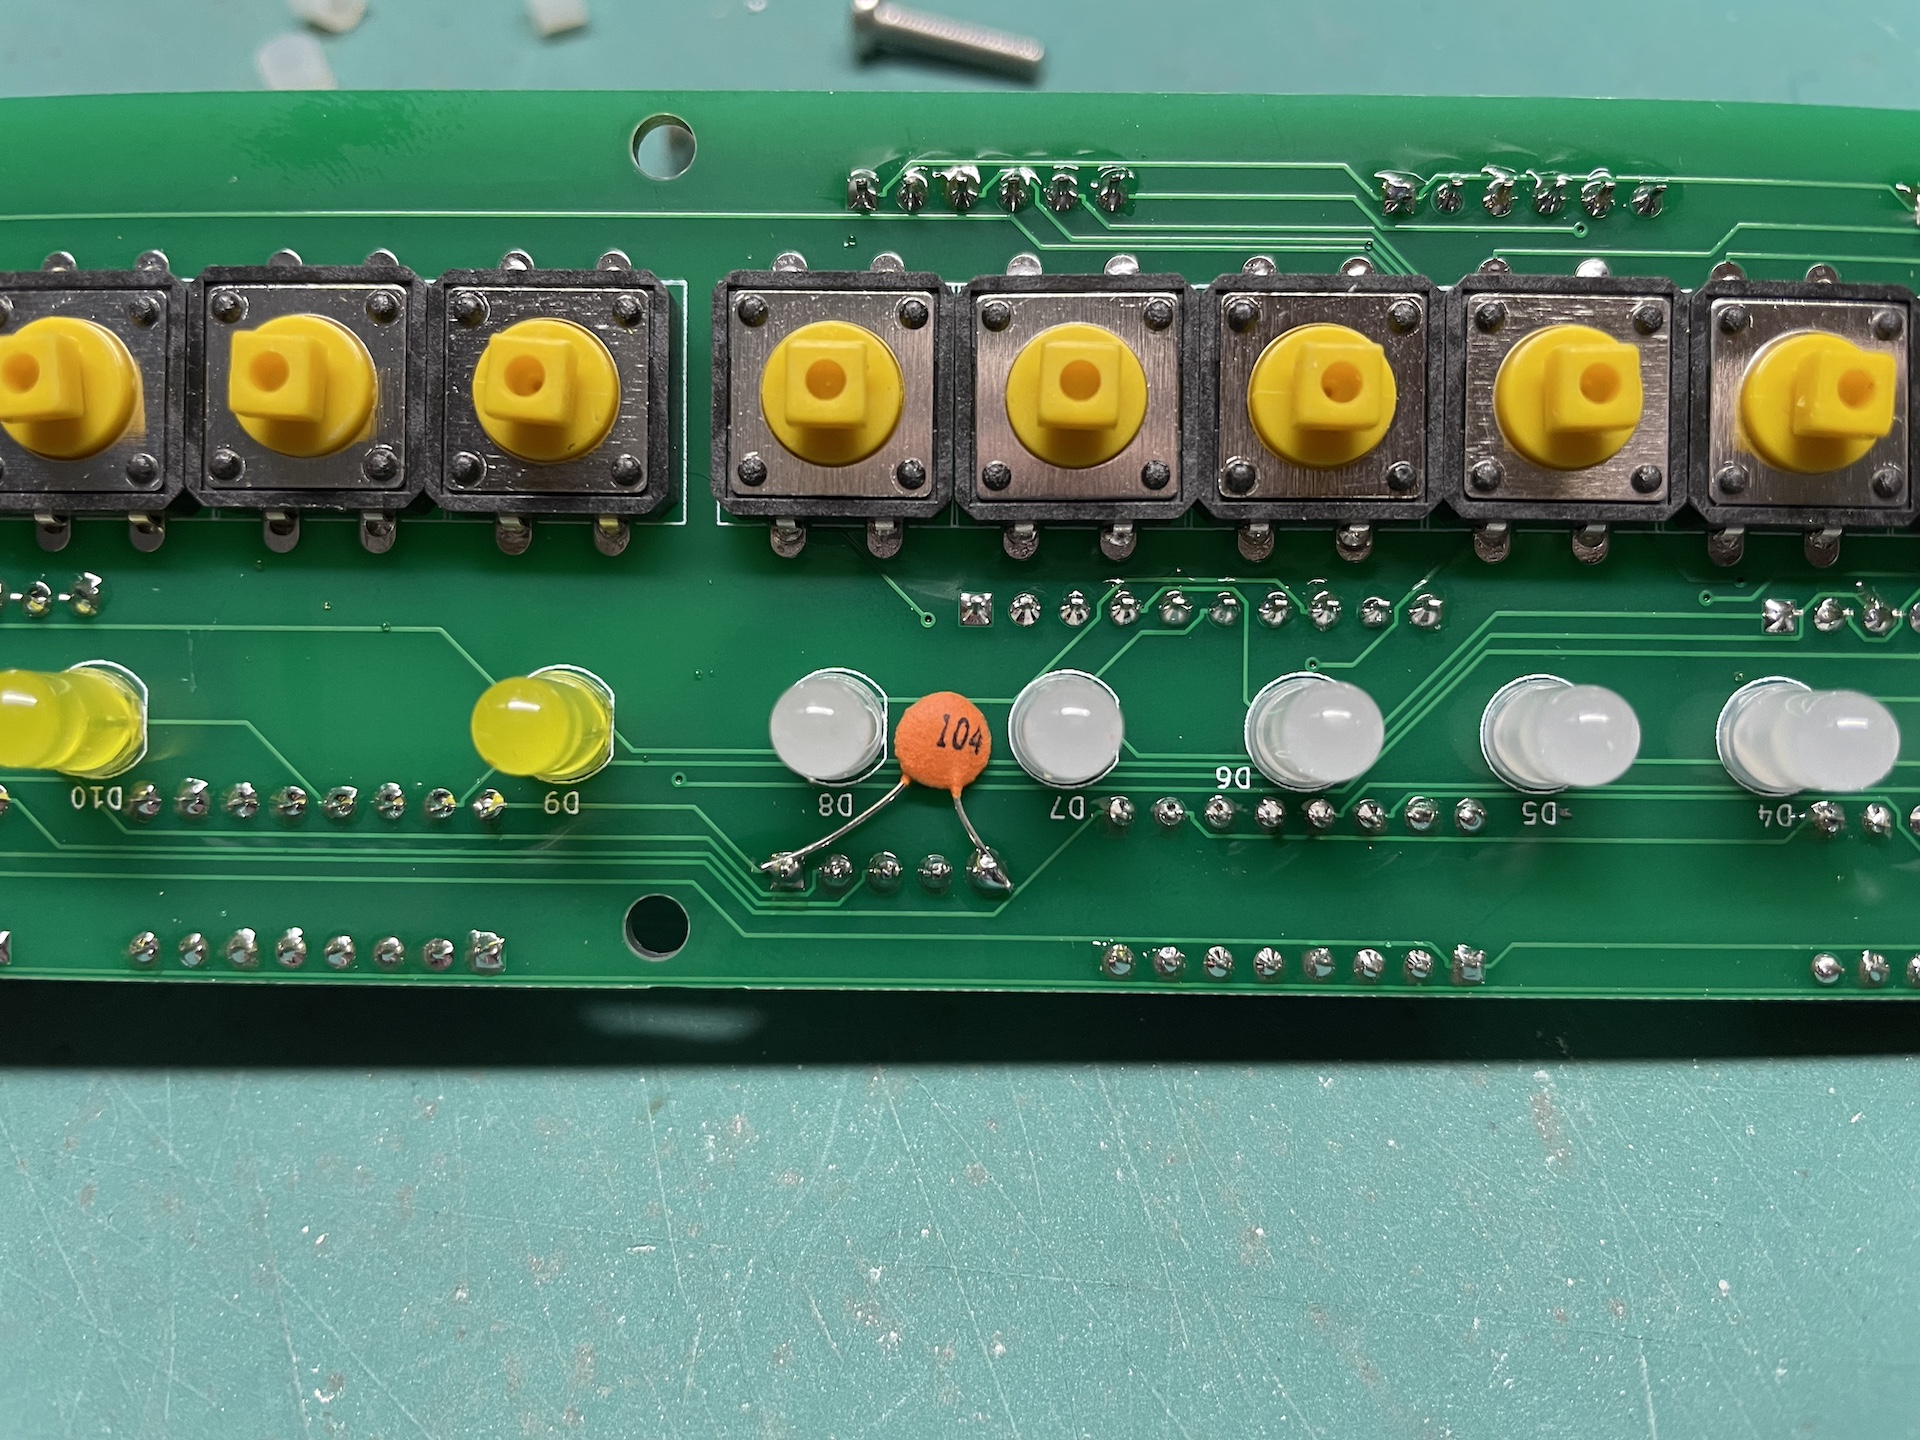
Adding a .01uF (104) capacitor between the power and ground on the RTC module (as pictured) appears to fix this issue. This fix is not necessary unless you are seeing this behavior.
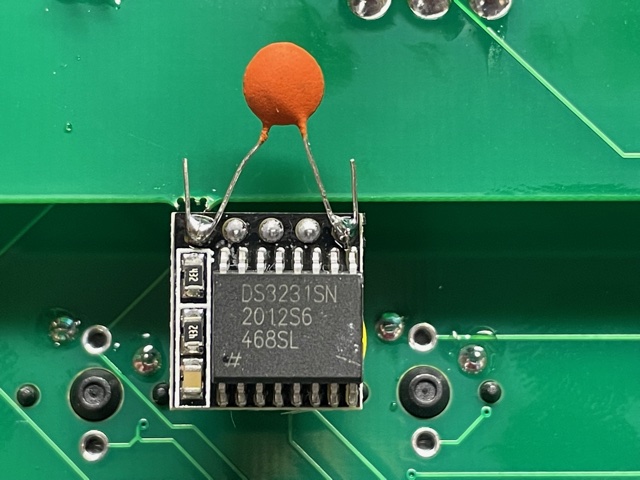
You can either place the capacitor on the top of the RTC module as pictured above,
or you can place the capacitor on the LED side of the main board as pictured to the right:
Random Mem Lock problem
- If you purchased your µKenbak-1 before 8/24/2021 you may have noticed a random issue where you cannot store a value to memory. You can tell if this is happening because the LED above the STOP button will not blink when you press the STORE button. This can happen because there is code on the Atmega328p chip that tries to read a mem-lock switch, which is not present in the µKenbak-1. I have since learned that leaving an input "floating" in an Arduino project is not good.

- If you're not experiencing this problem, you don't need to do anything. If you are seeing this problem, there are two possible solutions. First, you can upload new code to the Atmega328p. This will require access to an Arduino Uno. The process is outlined on this page.

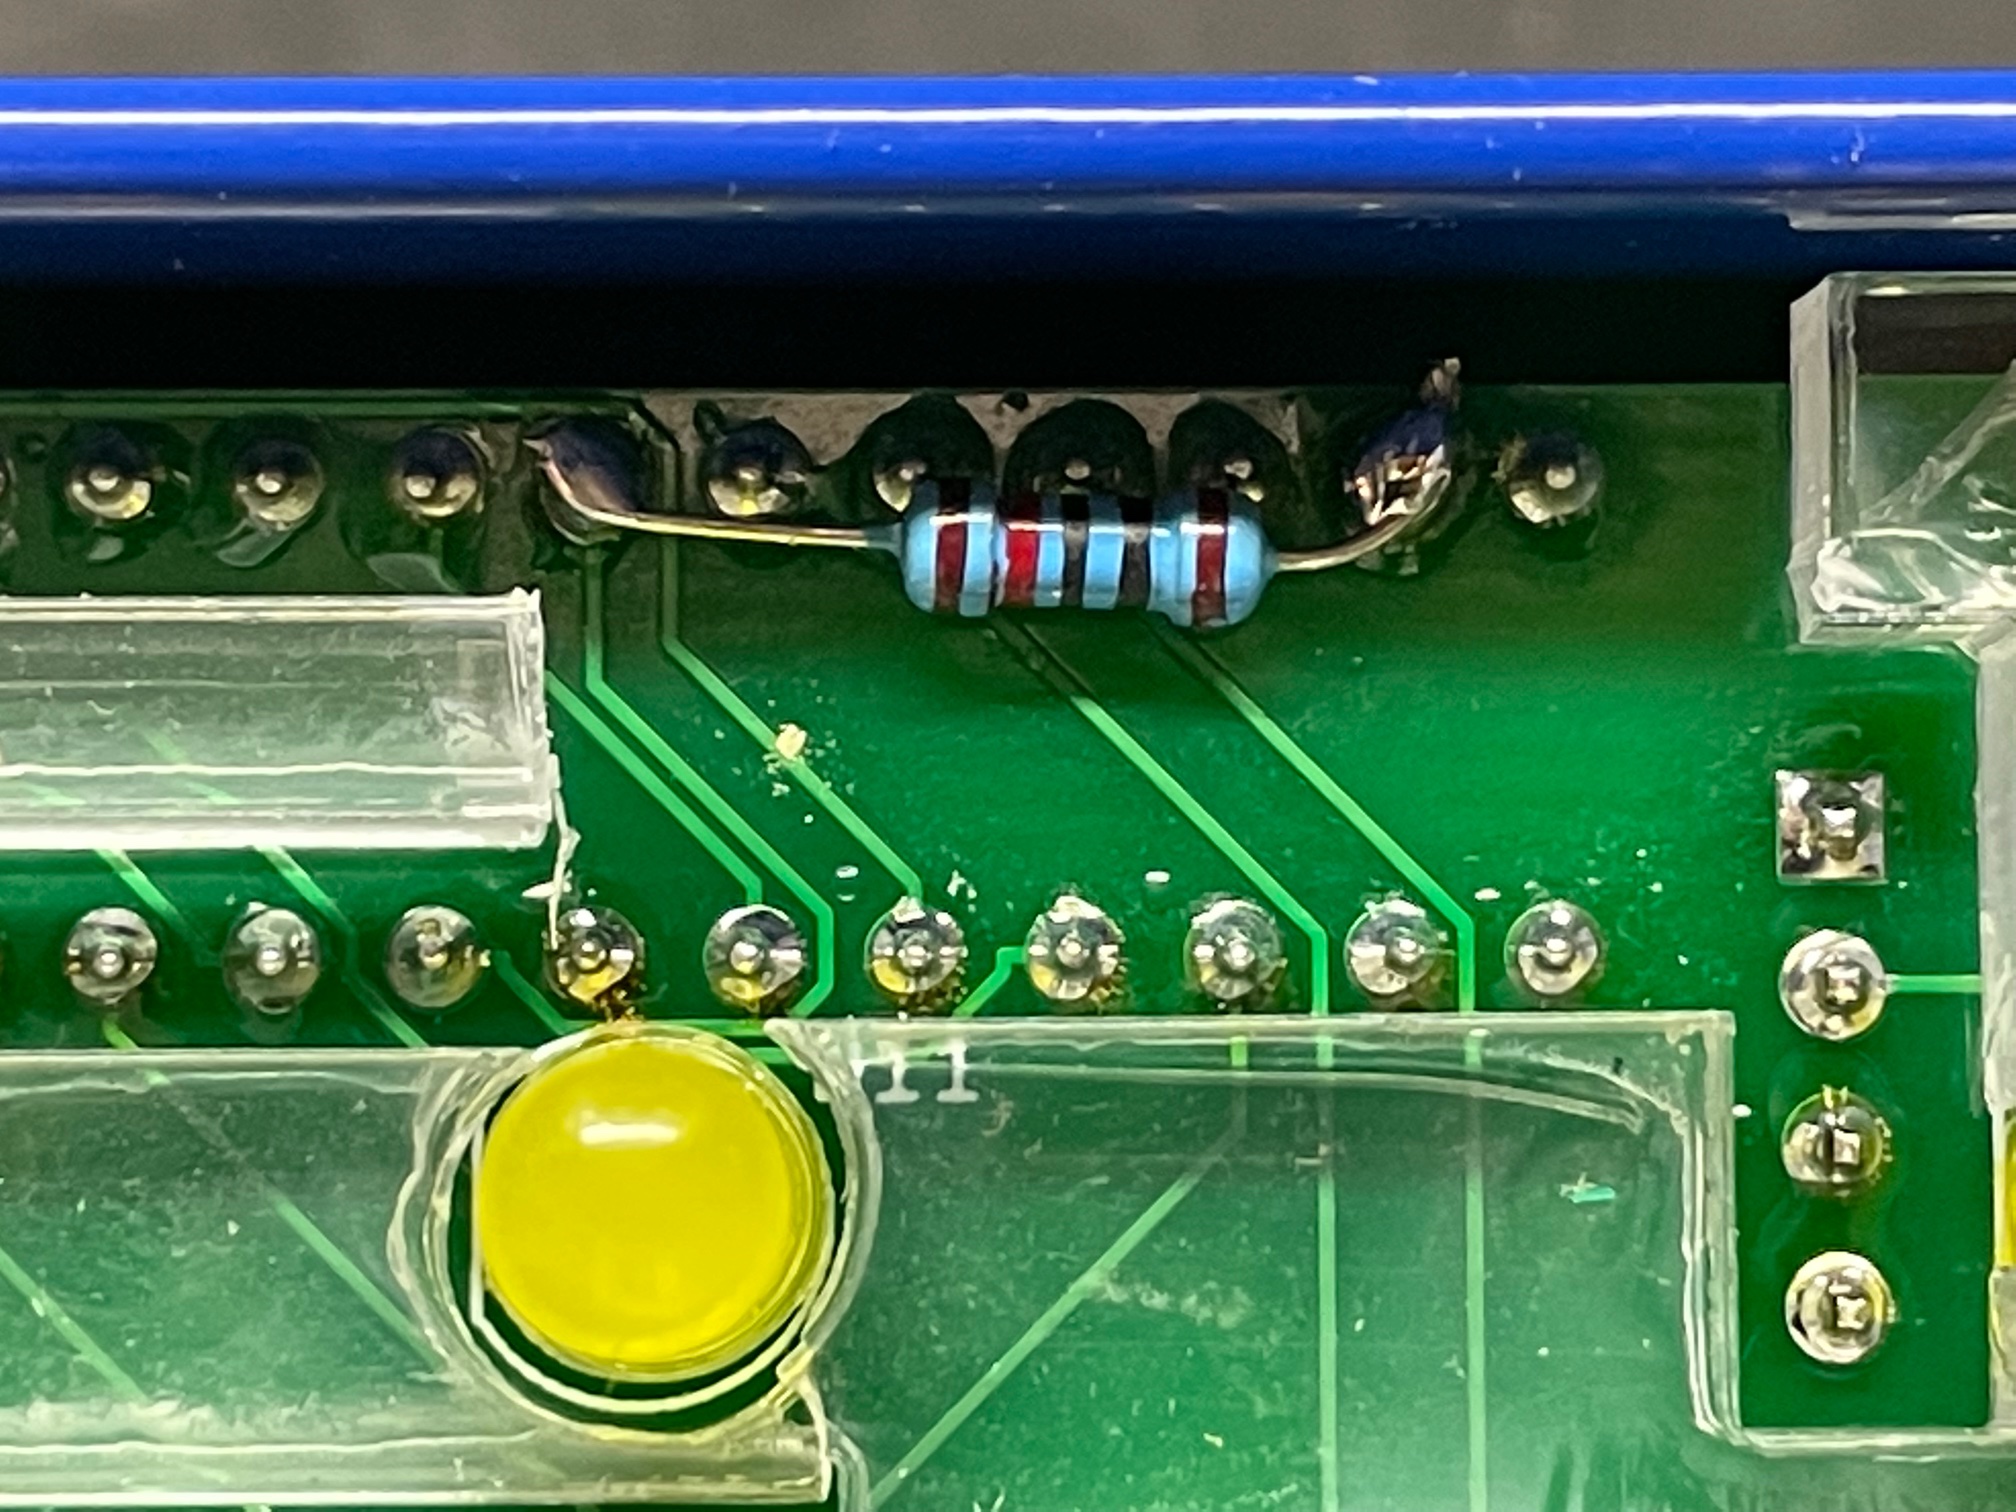
- The second solution is to solder a 10k resistor between pin 13 on the Atmega328p and ground, available on pin 8. You may want to snip away part of the acrylic spacer. This keeps MEM LOCK in a permanent "off" condition. If you ordered your kit after 8/23/2021 the code in the Atmega328p has been changed to prevent this behavior.