
Your Arduino will arrive pre-programmed, but if you want to change the default settings, or install an update in the future, this is the information you will need.
If you're looking for instructions to flash the PIC32MX, click here.
The Easy Way
If you would like to install new software to your Altairduino without installing the Arduino IDE, follow this process:
- Download the latest code in this archive: UploadBinaryDue.zip
- Unzip the archive to a location you can access from the command line (eg. c:\UploadBinaryDue).
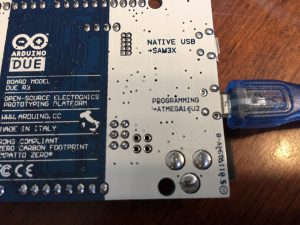
- Connect your Altairduino via USB to your computer (if your Arduino is not currently installed in your Altairduino, make sure you connect to the "Programming Port").
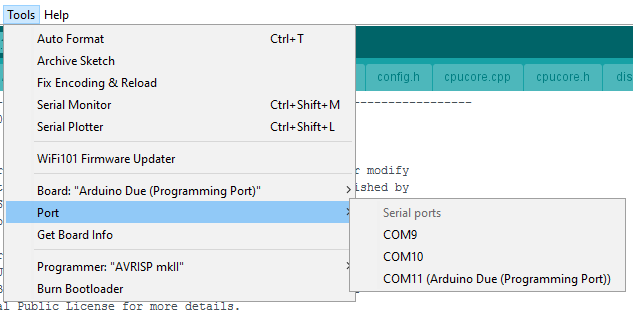
- Find the COM port number assigned to your Altairduino. I use Device Manager:
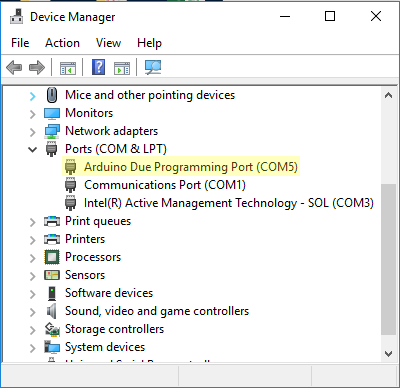
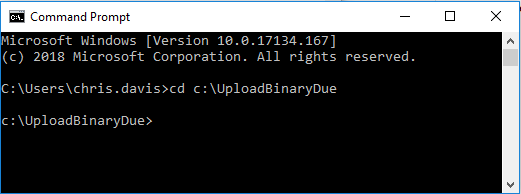
The above COM ports will be different on your system. - Open a command prompt and "cd" to the folder where you unzipped the archive:
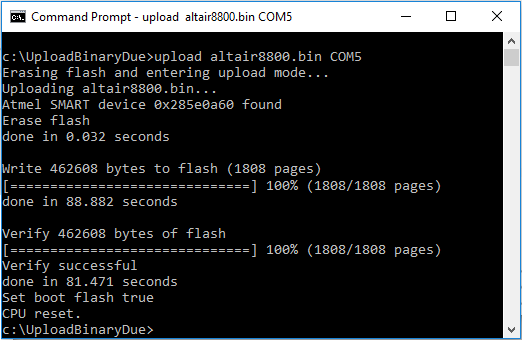
- Run the following command:
upload altair8800.bin COMn
[where n is the port number determined above] - Uploading the new binary will take just a couple minutes.
Since this is a precomplied binary, you will not be able to modify any of the precompliler directives. This version has the following options:
- Serial port enabled on pins A6/A7 and PROT switch disabled (used for serial port)
#define USE_SERIAL_ON_A6A7 1
- in host_due.h - Processor switching enabled on the Configuration Menu
#define USE_Z80 2
- in config.h - MITS, Cromemco, Tarbell, and 88-HDSK disk drives enabled
#define NUM_CDRIVES 4
#define NUM_TDRIVES 4
- in config.h - Serial port on RX/TX LEDs enabled
#define USE_SERIAL_ON_RXLTXL 1
- in host_due.h - I/O Bus is enabled
#define USE_IO_BUS 1
- in config.h
If you want other options, you will need to follow the full process with the Arduino IDE.
The more difficult way
If you would like to reload the software on your Arduino Due and have more control over the options and settings, here is the step-by-step procedure.
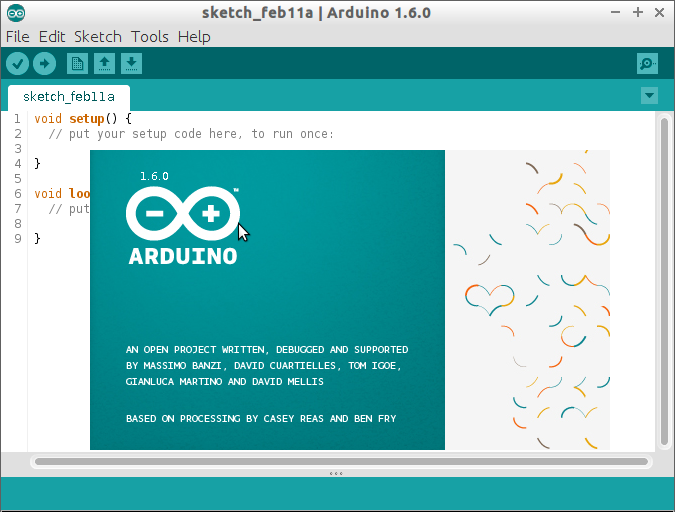
- Install the Arduino IDE. You can download it from this website. Once you have the IDE installed and running, you'll need to install a few libraries.
- Click Sketch > Include Library > Manage Libraries...
In the search box, enter "DueFlashStorage", select the library, and click Install.
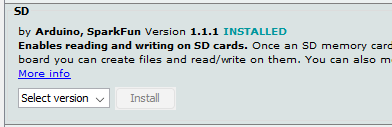
Search for the SD library (by SparkFun) and install version 1.1.1 (the default version has a problem with the Altair-Duino).
 Search and install SdFat by Bill Greiman.
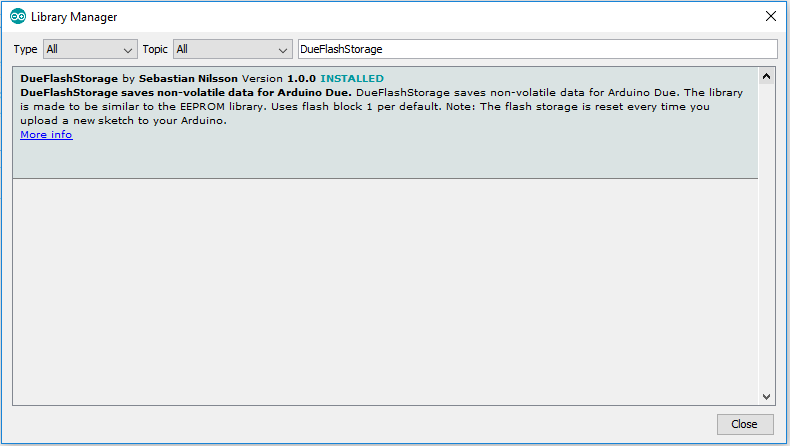
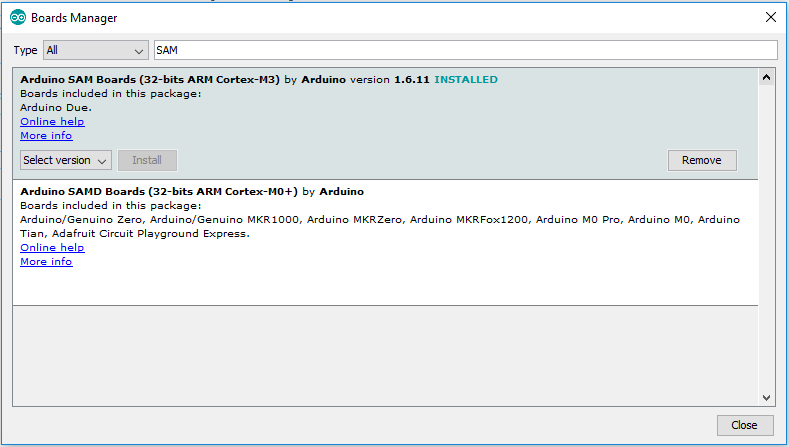
- You will also need to install support for the Arduino Due board. Click Tools > Board > Boards Manager... Search for "SAM" and install 32-bit "Arduino SAM Boards (ARM Cortex-M3)".
- You will want to switch the Arduino compiler's optimization setting to "performance". You can find this setting in
c:\Users\user]\AppData\Local\Arduino15\packages\arduino\hardware
\sam\1.6.9\platform.txt
(Your version "1.6.9" may be different.) Edit this in a text editor and change any occurrence of "-Os" to "-O3". If you skip this step the simulator will still run but it will run significantly slower, and some of the expansion cards will not work. 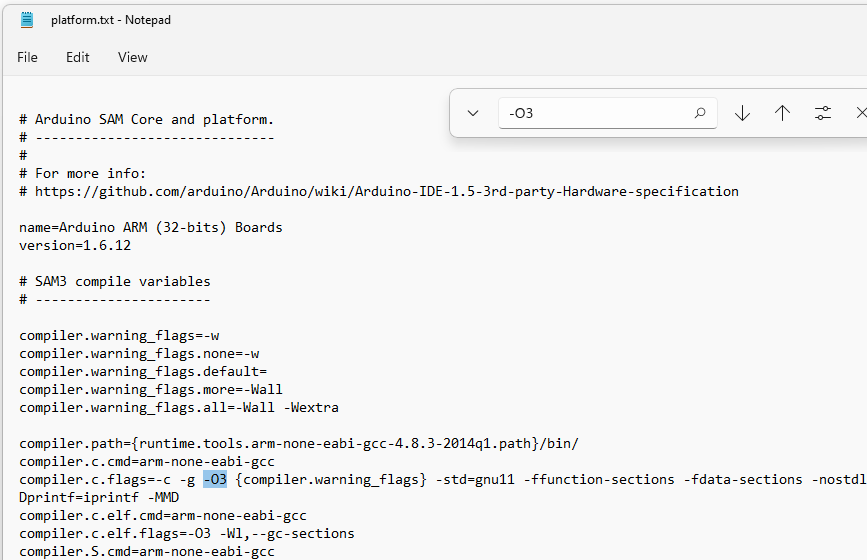
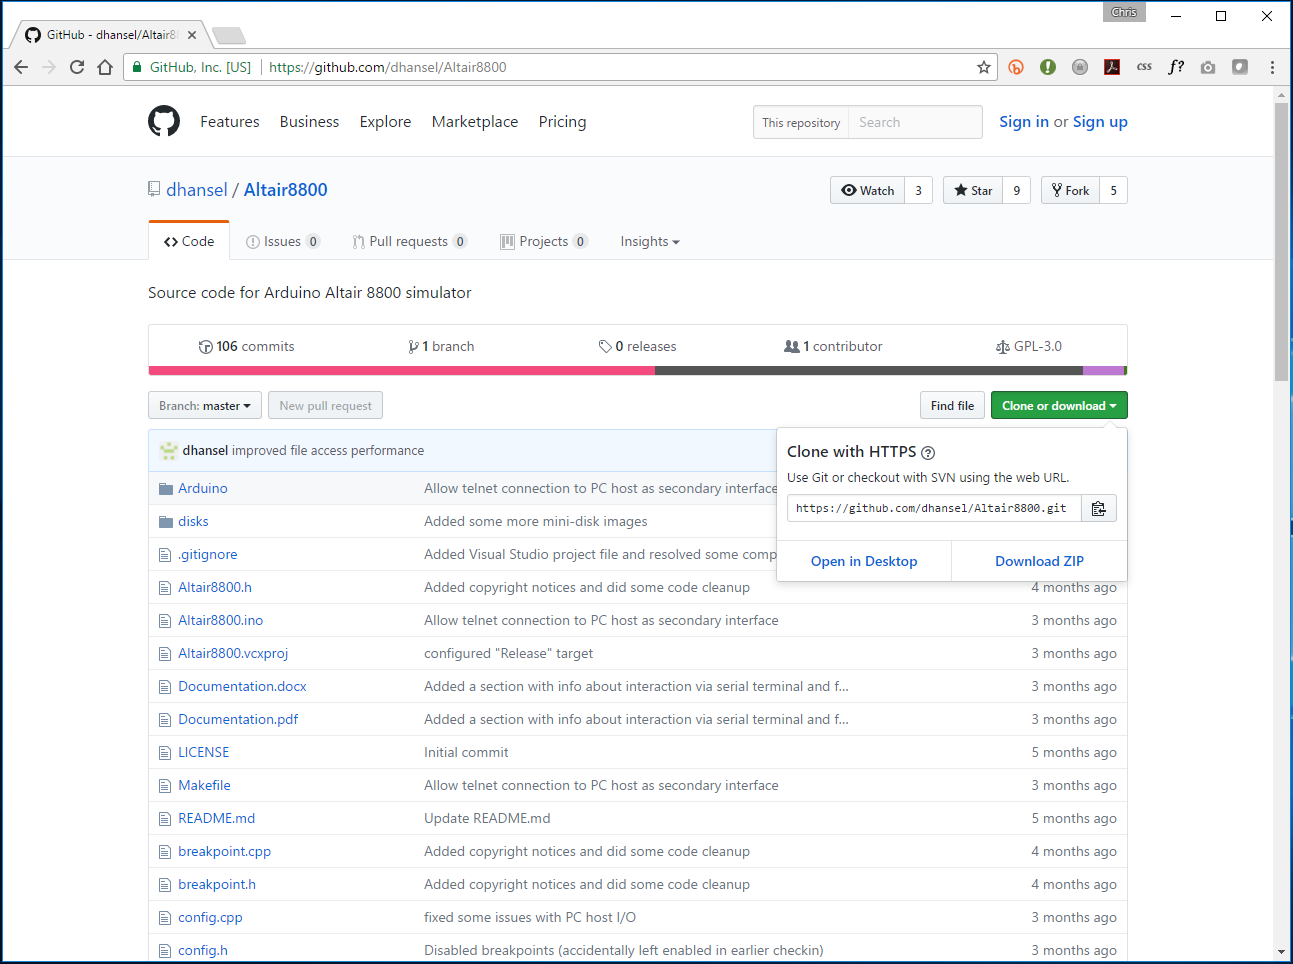
- Download the source code from GitHub. Click the "Clone or Download" button and choose "Download ZIP".
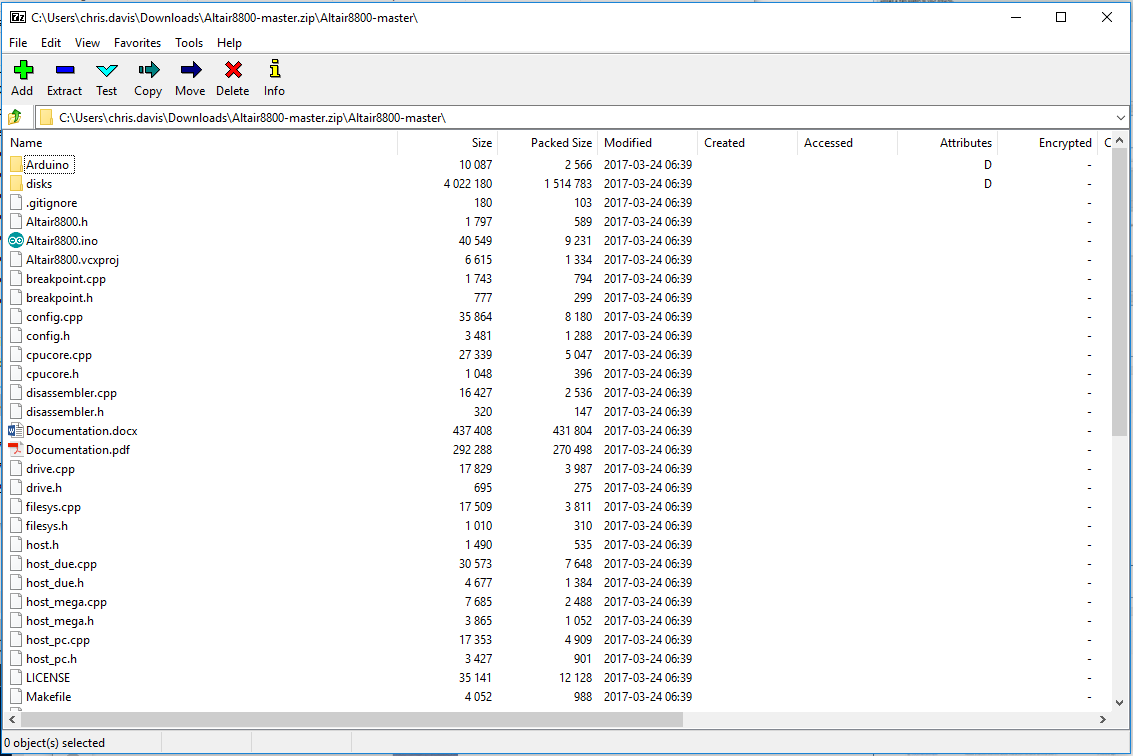
- Unzip the folder. The Arduino IDE creates an Arduino folder in Documents. That where I like to put my projects. Once it's unzipped, change the folder name from "Altair8800-master" to "Altair8800".
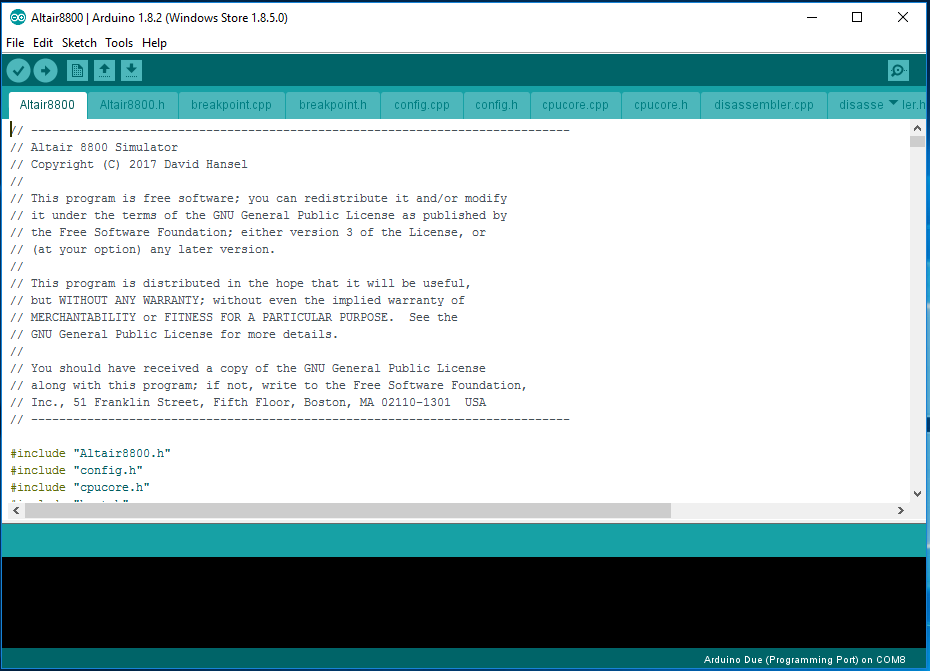
- Double-click the file "Altair8800.ino". This will launch the Arduino IDE and open the Altair8800 source code.
If you are using the DB9 serial module or VT100 emulator on serial port 2, you will need to change a precompiler directive:
- In host_due.h, change
“#define USE_SERIAL_ON_A6A7 0” to “#define USE_SERIAL_ON_A6A7 1”
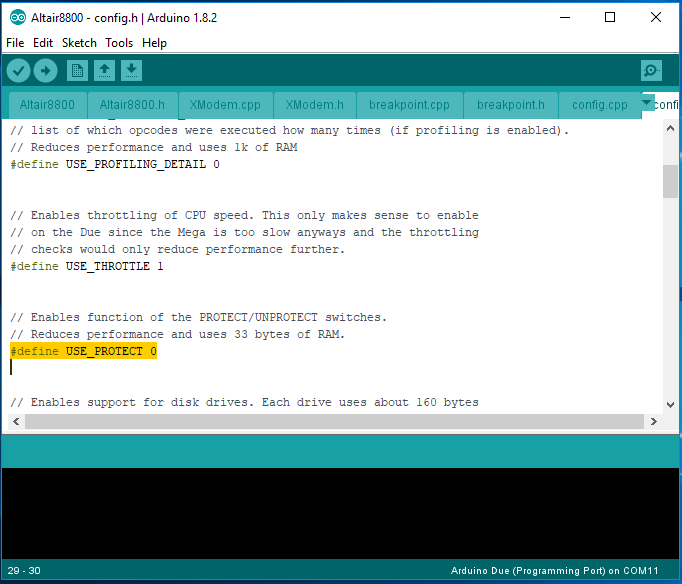
If you are using the I/O bus:
- In config.h, change
“#define USE_IO_BUS 0” to “#define USE_IO_BUS 1”
- In host_due.h, change
- Plug the USB cable into the "Programming" port of your Arduino Due and into your computer (if it is not labeled, it is the one next to the power jack.)
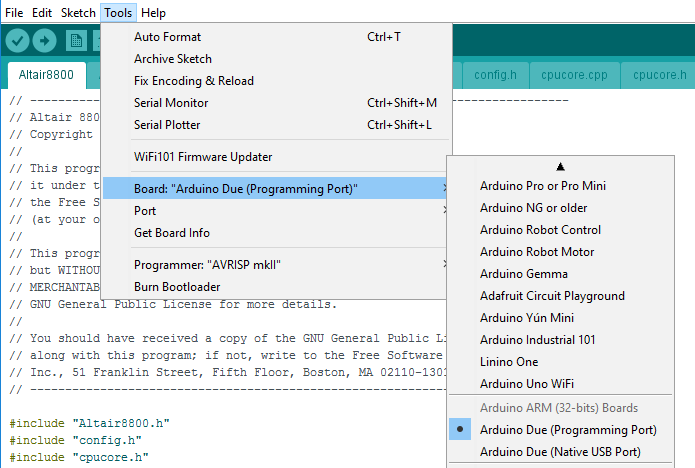
- In the Arduino IDE, click Tools > Port > Arduino Due (Programming Port)
- Make sure the correct board is selected. Click Tools > Board > Arduino Due (Programming Port). You may have to scroll a long list of available boards.
- You are now ready to program your Arduino Due. Click Sketch > Upload. (Don't select Upload using Programmer.) The code will compile and upload to the Arduino Due, this will take about three minutes.
You are now ready to plug the Arduino into your project!
Errors?
If you receive an error like "No device found on COMxx An error occurred while uploading the sketch", this common (apparently there is a design issue with some Arduino Due's.) No problem, press the "erase" button on the Due and try the upload again. It should work fine.Flash the PIC32MX
This is something you will never need to reprogram, but if you want to add your own modifications, or program a new chip.
The PIC32 contains the VT100 emulator software. To flash this you will need a compatible programmer for the PIC32MX. I use a cheap PicKit3 that I got from eBay. I also use the MPLAB X IPE v5.45 programming software (freely available from Microchip).
You will need to program the chip with this binary file.
If you want the source code to make your own changes, start here.
You will need to secure or create your own interface between the programmer and the chip. I cannot provide a step-by-step process for this. You can start by googling Programming a PIC32 on a Breadboard.