So you'd like to add an ESP-01s to your Altair-Duino Standard? Well you're in luck because it's very easy. Adding an ESP-01s will allow you to connect with Telnet via WiFi.
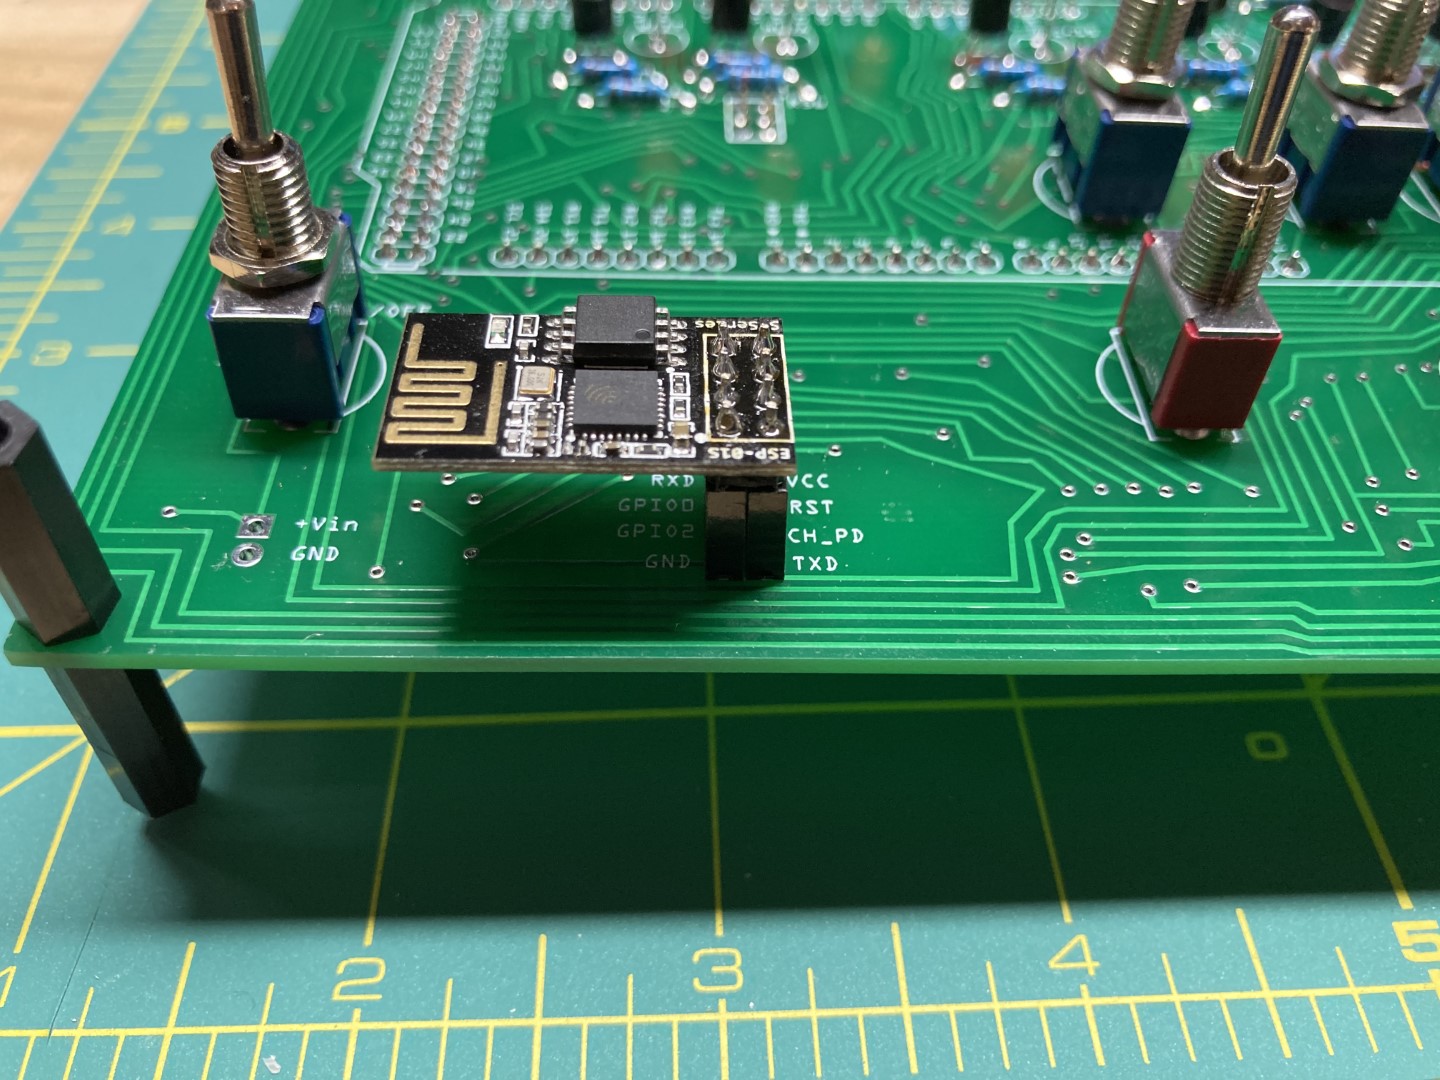
- Your Altair-Duino already has a place on the PCB to add the ESP-01s. The TX/RX line are connected to pins 18/19 on the Arduino.
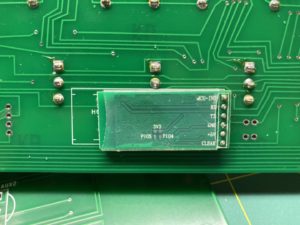
- Unfortunately, if your Altair-Duino already has a Bluetooth module, you will need to remove it, as it uses the same TX/RX connections.
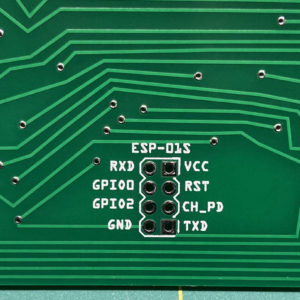
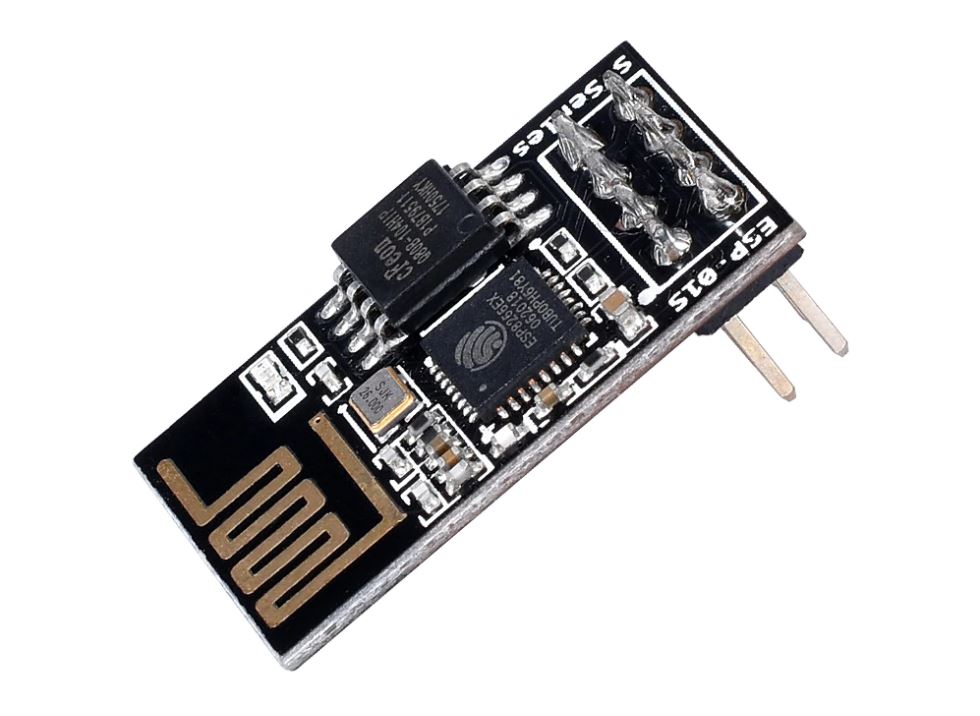
- First you'll need to get an ESP-01s module. Make sure you get the "01s", which is a black module (the original 01 is typically blue.) The ESP-01s has the features and memory we need for this project. You can get a pre-programmed unit, including an 8 pin female header here. If you would like to source and program your own ESP-01s, there is a more in-depth description of the process here.
- Solder the 8-pin header in the above mentioned footprint, then place the ESP-01s module in the header as shown. That's really all there is to installing the hardware. Put your Altair-Duino back together. Next we'll establish a WiFi connection.
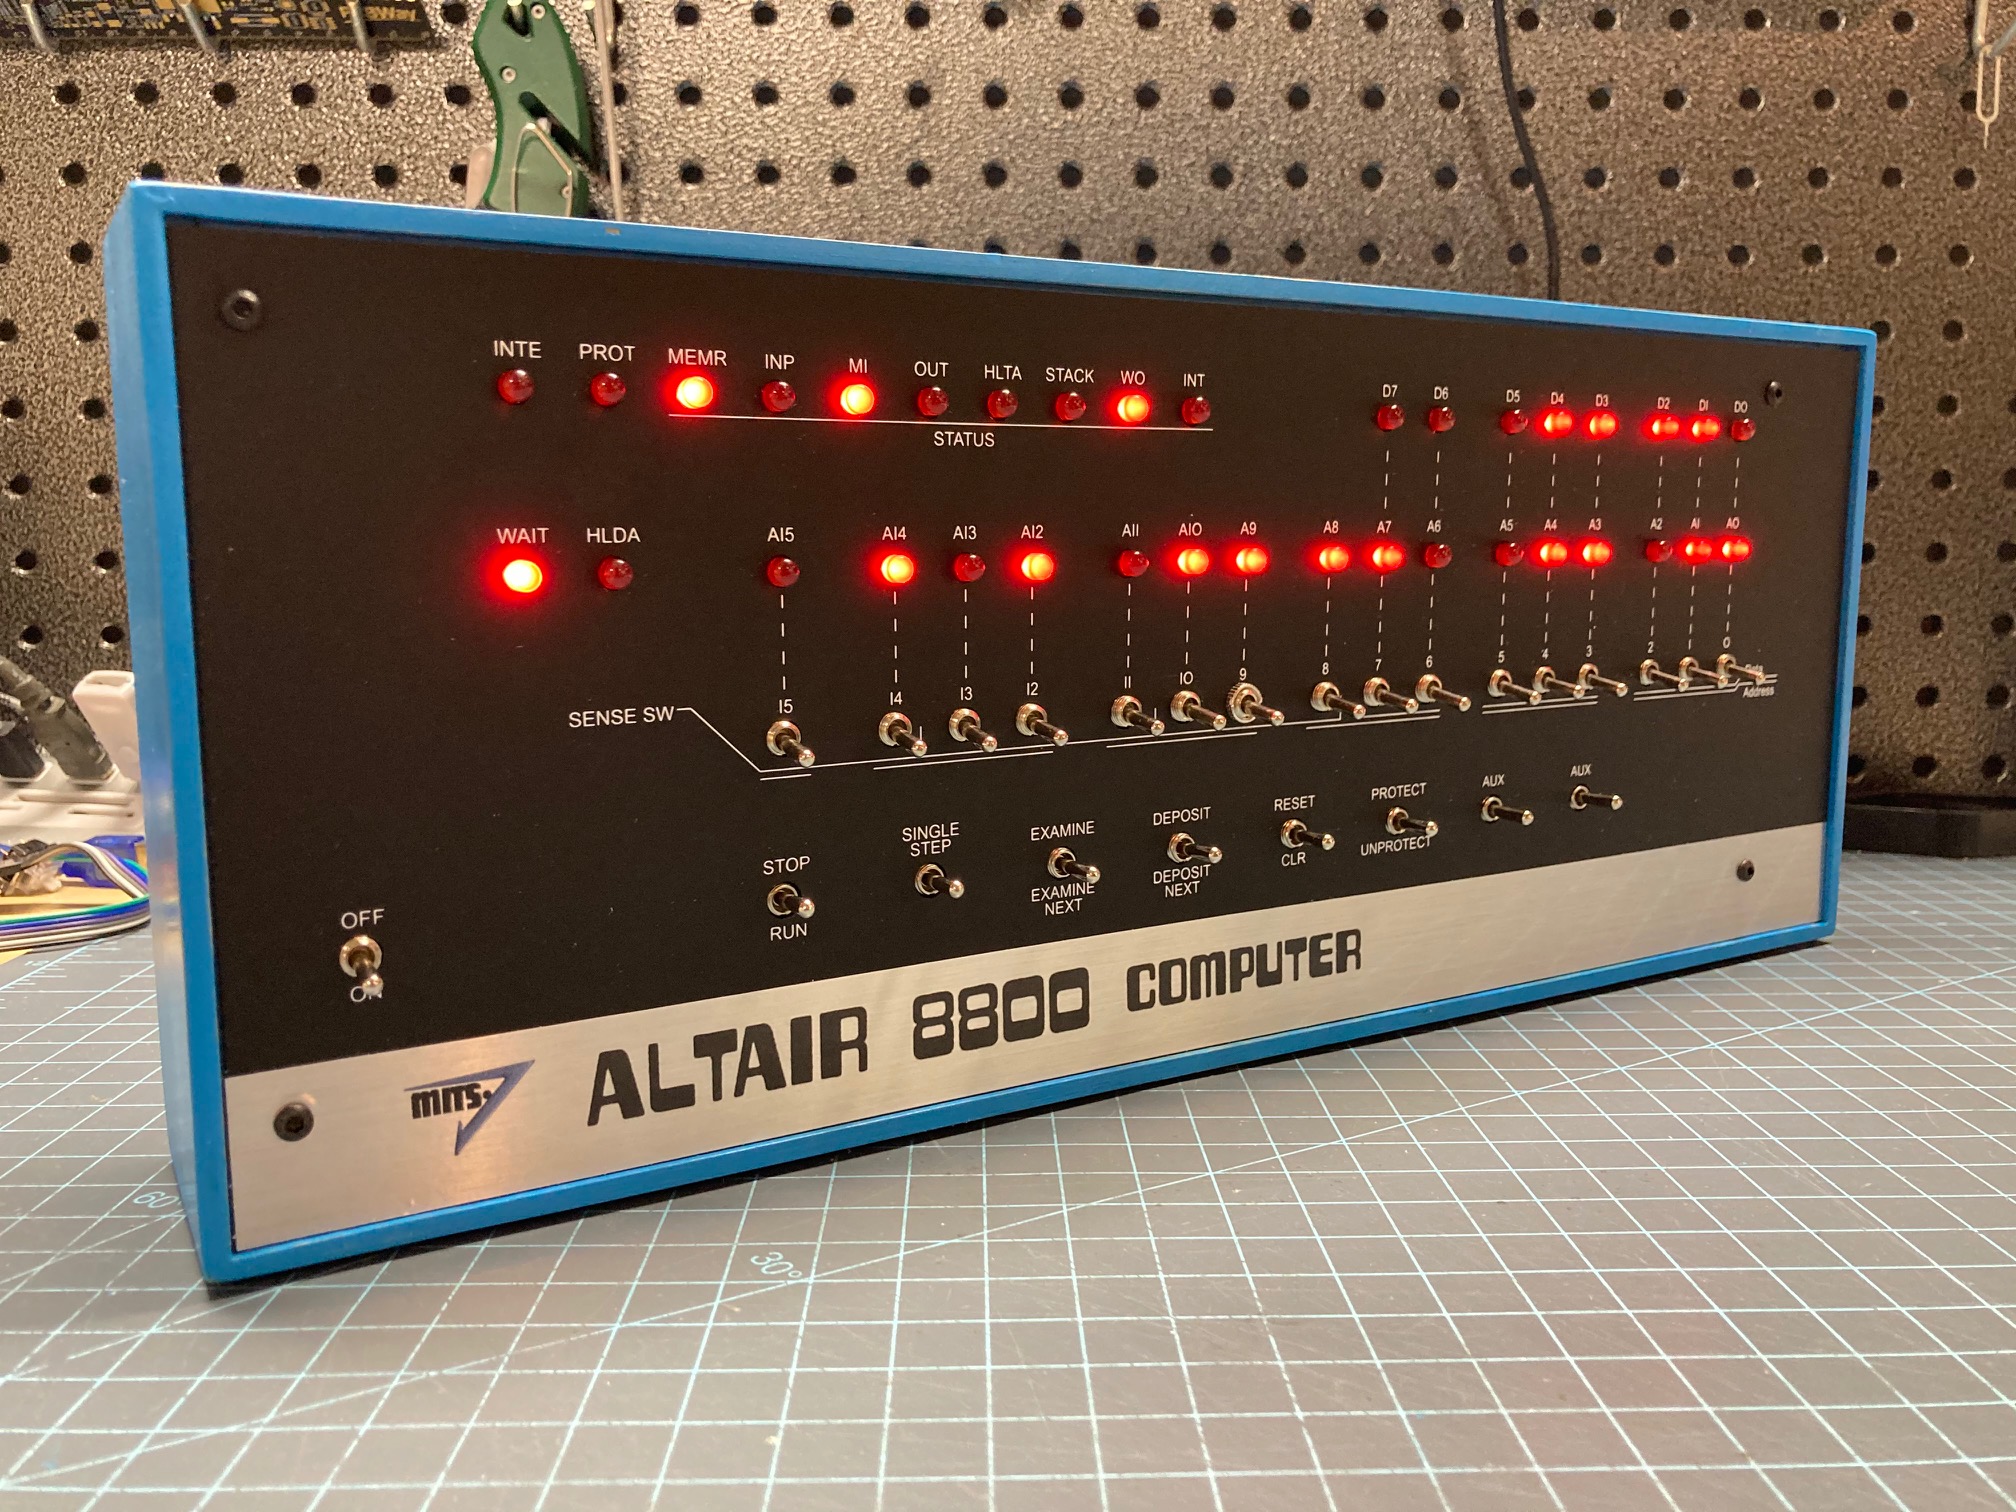
- We're going to want to direct the input/output of the Altair-Duino to pins 18/19 of the Arduino. The default is to use the USB connection for communication. Make sure your SD card is installed, set SW0 up, hold DEPOSIT up, and turn the power on. You can release DEPOSIT. This instructs the Altair-Duino to load configuration #1 from the SD card.
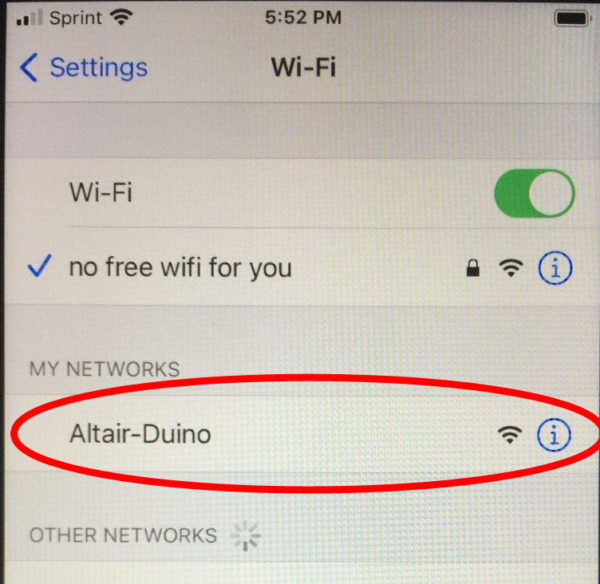
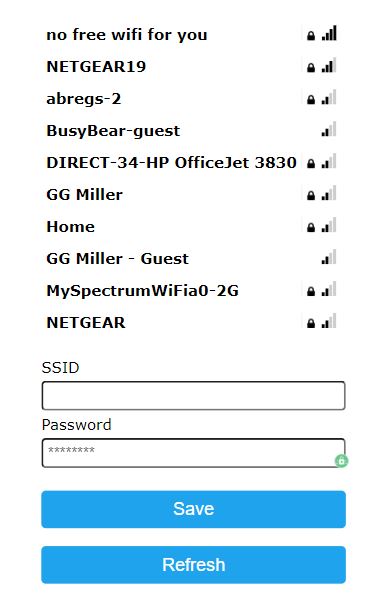
- Now that the Altair-Duino is powered up, grab your smart phone or computer and look at the available WiFi connections. You should see a new WiFi SSID called "Altair-Duino". Select that network.
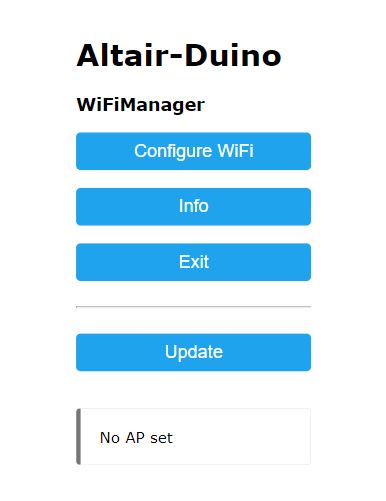
- Once that connection is selected, you will be directed to a captive portal to select your WiFi network. Click "Configure WiFi". If you do not see this page, you can go to a browser and navigate to 192.168.4.1.
- This is how you tell your Altair-Duino which WiFi to connect to. Select your WiFi network and enter your password. Click "Save". In less than 30 seconds, the captive portal should close. Your Altair-Duino is now connected to your WiFi network.
Open a browser and try to connect to "altair.local". Did it work? It should work if you have a Mac. If you have a Windows computer, it may or may not work.
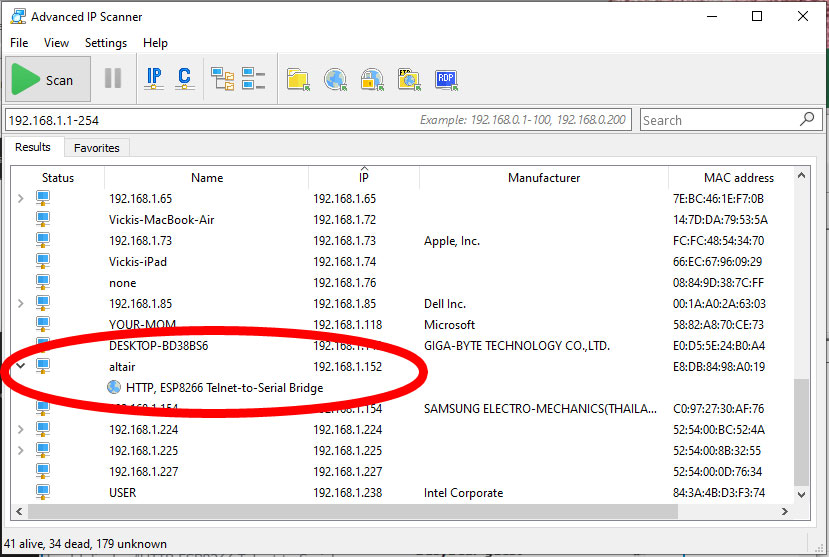
If it doesn't work for you, download a free utility called Advanced IP Scanner. This will scan your network for connections.
- What you're looking for may display a name of "altair" and a manufacturer of "Espresif Inc", but it may not. It should also show a ">" next to it indicating there is a service. When expanded, it should display "HTTP, ESP8266 Telnet-to-Serial Bridge". Remember this IP address.
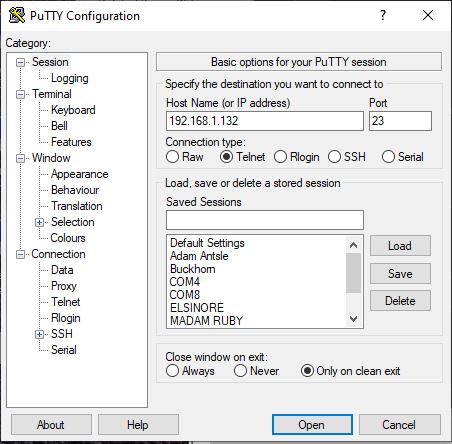
- Open Putty and select a connection type of Telnet. Enter the IP address (or "altair.local" if that works for you). You'll also want to change a couple settings. Under "Category", click "Terminal". On the right side, set Local echo to "Force Off". Under "Category" on the left, click Terminal > Telnet. On the right side uncheck "Return key sends Telnet New Line instead of ^M".
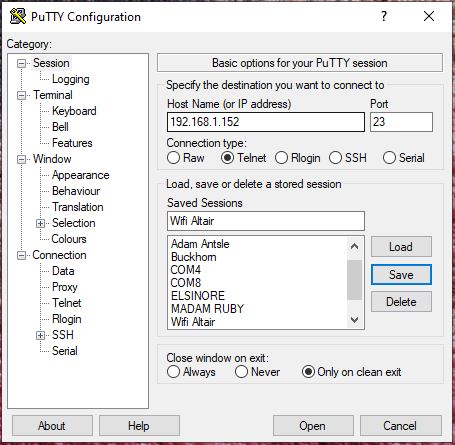
- You can click "Open", or if you prefer, you can return to "Session" on the left side, enter a name for this Saved Session and click "Save". You can then click "Open".
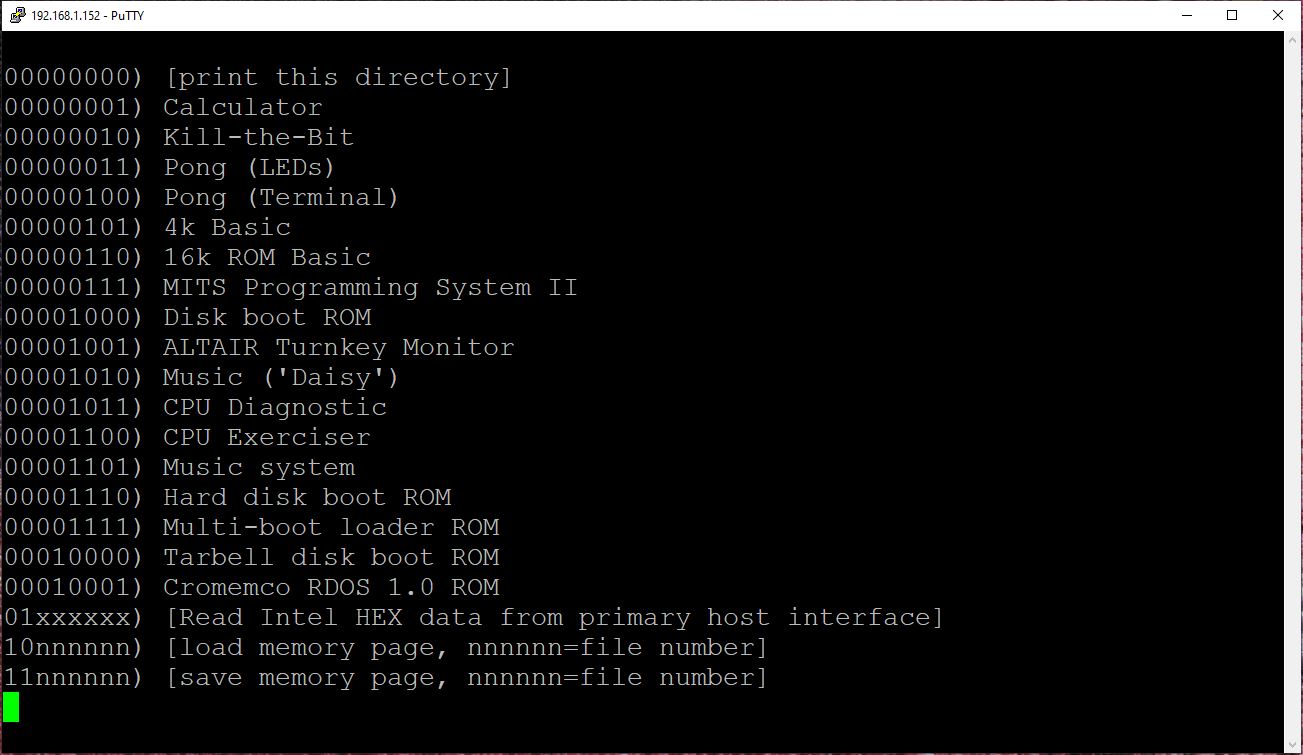
- The next thing you see will be an empty black window. On your Altair-Duino, make sure all switches are down, then press AUX1 down. Do you see a list of built-in applications? No? Make sure your primary host serial is set to "Serial (pin 18/19)". (That should be what configuration #1 is set to.)