
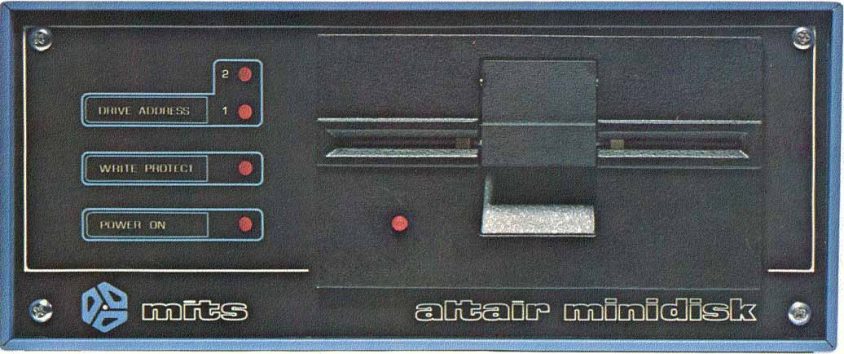
The first disk drive for the Altair 8800 was an 8-inch drive. Technology moved fast and chaotically in those days, and it wasn’t long after that the Mini-Disk drive was released, using 5.25″ diskettes. The Mini-Disk system was less expensive, but had less storage capability (approximately 72k.)
Mini-Disk BASIC is virtually identical to Altair Disk BASIC.
Requirements:
MicroSD Card with Altair disk images (available here.)Terminal software (Putty is highly recommended.)
Step-by-Step:
- Stop whatever the Altair is doing – raise “Stop”, then raise “Reset”.
- Mount emulated disk 12 in drive 0 – switch 12 up, switch 3 up, switch 2 up (all other switches down).
- AUX2 down to load disk.
Terminal will say “[mounted disk ‘DISK0C.DSK: ALTAIR Mini-Disk Basic’ in drive 0]” - Mount emulated disk 13 in drive 1 – switch 12 up, switch 8 up, switch 3 up, switch 2 up, switch 0 up (all other switches down.)
- AUX2 down to load disk.
Terminal will say “[mounted disk ‘DISK0D.DSK: ALTAIR Mini-Disk Basic programs’ in drive 1]” - To run bootable disk – switch 3 up (all others down).
- AUX1 down. This will install the Disk Boot ROM and boot disk 0.
Terminal will load Altair Mini-Disk BASIC and ask “MEMORY SIZE?” - Press Enter.
- For “LINEPRINTER?” respond “O” (for Okidata.)
- Answer 1 for “HIGHEST DISK NUMBER?” (That means two disks.)
- For “DISK FILES?” and “RANDOM FILES?” you can answer 4.
- The terminal will show
41022 BYTES FREEALTAIR MINI-DISK BASIC
VERSION 300-5-E [30NOV78] COPYRIGHT 1978 BY MITS INC.
A few commands:
“MOUNT” – will mount both disk drives. You can also enter “MOUNT 0” and “MOUNT 1”.
“UNMOUNT” and “REMOUNT” – in case you change disks.
“FILES” will show a directory of the current drive. You can also enter “FILES 0” and “FILES 1”.
LOAD “FILENAME” will load a program. To load from drive 1, enter LOAD “FILENAME”,1.