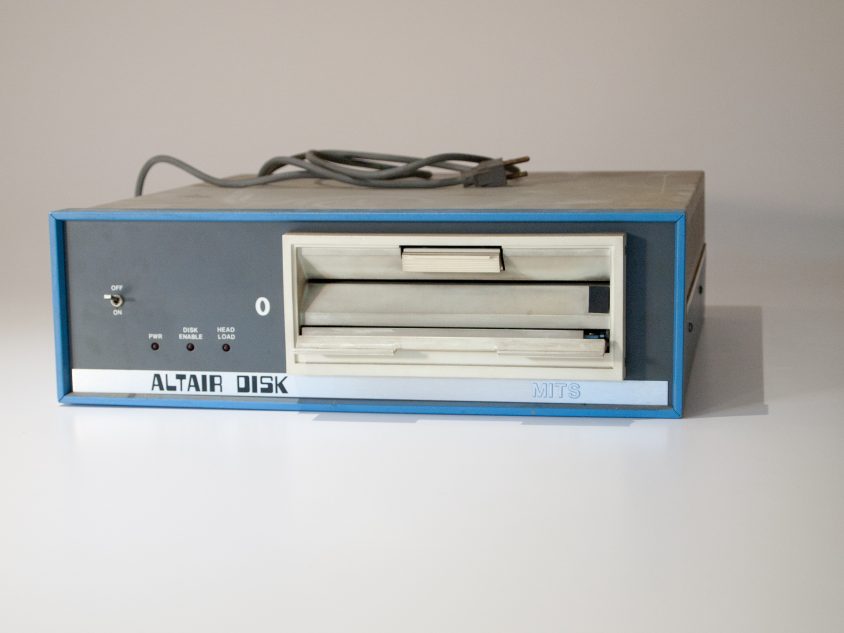
Altair DOS 1.0 was announced in late 1975 when the Altair floppy disk system was released. However, it was not actually released until August of 1977. By then, CP/M had become the defacto operating system for Altair disk systems.
Requirements:
MicroSD Card with Altair disk images (available here.)Terminal software (Putty is highly recommended.)
Step-by-Step:
- Stop whatever the Altair is doing – raise “Stop”, then raise “Reset”.
- Mount emulated disk 2 in drive 0 – switch 12 up, switch 1 up (all other switches down).
- AUX2 down to load disk.
Terminal will say “[mounted disk ‘DISK02.DSK: ALTAIR DOS 1.0’ in drive 0]” - To run bootable disk – switch 3 up (all others down).
- AUX1 down. This will install the Disk Boot ROM and boot disk 0.
Terminal will load Altair DOS 1.0 and ask “MEMORY SIZE?” - Press Enter.
- For “INTERRUPTS?” repond “Y”.
- Answer 0 for “HIGHEST DISK NUMBER?” (That means one disk.)
- For “DISK FILES?” and “RANDOM FILES?” you can answer 4.
- The terminal will show
055797 BYTES AVAILABLE
DOS MONITOR VER 1.0
COPYRIGHT 1977 BY MITS INC
In general, Altair DOS 1.0 was cryptic and non-intuitive. Turn on your Caps Lock, because Altair DOS doesn’t like lower-case.
A few commands to get you going:
“MNT 0” – mount drive 0.
“DIR 0” – get a directory of drive 0.
“PRIME” – runs the program that calculates prime numbers. Press ctrl-c to quit (which works because we enabled interupts.)
If you would like more information about Altair DOS, you can download the the original manual.

